Emoji Cupcakes
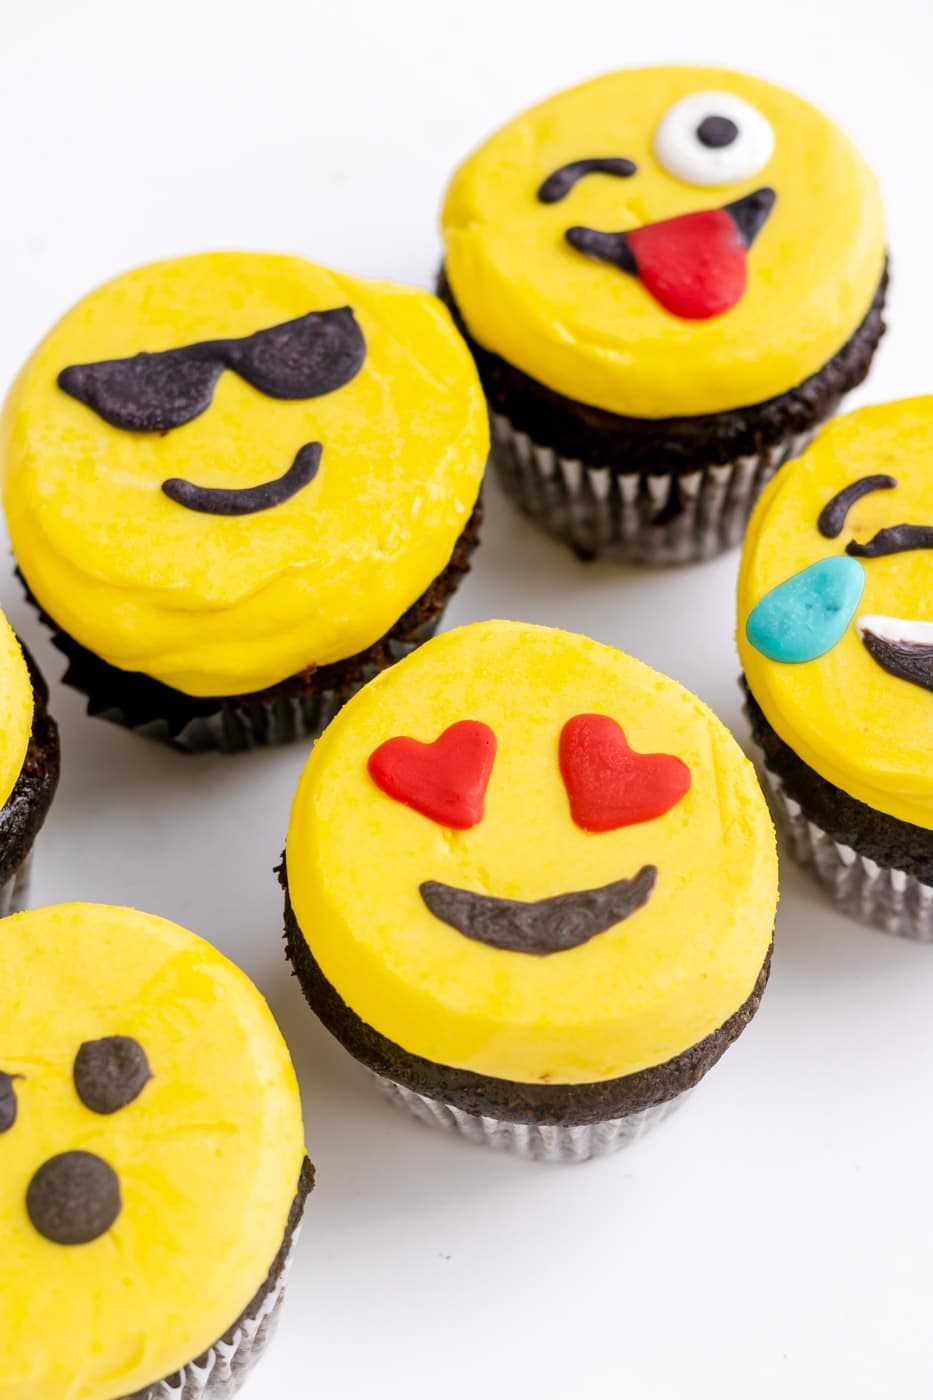
Let’s make emoji cupcakes! These cupcakes are so much fun and so delicious. I’m using meltable candy wafers to create the emoji faces which is easy and takes less than 10 minutes to set. These are perfect for kids to decorate as they can recreate their favorite emojis or create awesome new ones.
The recipe below is my go-to chocolate cupcake recipe but you can substitute vanilla cupcakes or your favorite cupcake. A few of my favorites are: my red velvet cupcakes and my gluten free chocolate cupcakes. You can also take a shortcut and use a box mix or you can even buy cupcakes from the bakery section at your grocery store and scrape the frosting and redecorate. If you are using a mix, bake according to cupcake package directions and then skip to the buttercream section of this recipe.

Ingredient Notes
Below are some notes on key ingredients for this recipe. For a full list of ingredients, see the recipe card below.
- Cocoa powder: If there’s one ingredient I usually go for a higher quality on its cocoa. My favorite is Guittard Cocoa Rouge. Another good one, slightly cheaper is Ghirardelli Unsweetened cocoa.
- Vegetable oil: I almost always go for oil over butter in chocolate layer cakes to make it super moist. You can use vegetable or canola oil.
- Buttermilk: If you don’t have store-bought buttermilk you can easily substitute with milk and lemon juice. Add 1 1/2 teaspoons of lemon juice to a measuring cup and then add enough milk until you have 1/2 cup total. Let sit for about five minutes before adding to your batter.
- Coffee: anytime you’re baking something chocolatey adding coffee doesn’t hurt. I often add espresso powder to brownies and for cakes and cupcakes such as these I add freshly brewed hot coffee. The coffee just enhances the chocolate flavor, the baked cake will not have a coffee flavor. If you prefer not to use coffee, you can substitute hot water.
- Salted Butter: I only bake with salted butter. You’ve probably heard to use unsalted because there can be discrepancies in how much salt is in different brands but I have yet to come across a brand of butter that is too salty. I find that when I use unsalted butter I have to add a lot of salt to balance out the sweetness of most of my recipes, especially buttercream. For the vanilla buttercream we want to use room temperature or softened butter. You can leave it out at room temperature about an hour before you need to use it, or microwave it for about 15 seconds to soften.
- Food Coloring: I prefer to use gel food coloring, such as this yellow color from Americolor.
- Candy Wafers/Melting Chocolate: I decided to make my faces with candy melts instead of fondant or royal icing. They dry within minutes, unlike royal icing which takes hours and you can just trace the shapes as opposed to having to roll and cut fondant. I used the Sweet Tooth Fairy Meltables that I found at Michaels but other good options are Wilton Candy Melts and Fancy Sprinkles Easy Candy. The colors depend on which emojis you are creating, but I used white, black, red and blue.
Chocolate Cupcakes
My go-to chocolate cupcake recipe is really easy, no electric mixer required. Heat oven to 350 degrees and line a muffin tin with cupcake liners. To make the cupcakes combine the vegetable oil and sugar together in a large mixing bowl. Add the egg, egg yolk and vanilla extract and beat with a whisk or hand mixer. Add the dry ingredients alternating with the buttermilk. And lastly add in the hot coffee, mixing on low speed.
Divide the chocolate cake batter among 16 cupcake liners. Bake chocolate cupcakes for 18 minutes and then cool completely on a wire rack before frosting.
Vanilla Buttercream
In the large bowl of a stand mixer beat the butter until light and fluffy, about 3 minutes. Slowly add the powdered sugar one cup and a time. If you are using organic powdered sugar, you will want to sift it first to get out any large lumps. Add the heavy cream and vanilla and beat until smooth. Add a pinch of salt (to taste) and mix. Lastly add a couple drops of yellow food coloring and mix.
Decorating your emoji cupcakes
To make the emoji faces I printed a template to trace. You can use my template here or create your own with whatever emojis you would like on your cupcakes. Place the printed template on your work surface and cover with a sheet of parchment paper or wax paper that you can see through.
In a small bowl add a handful of white candy wafers. Microwave candy melts according to the package instructions. Add to a decorating bag and cut a small hole at the opening. You can also use a ziploc bag as a piping bag, just cut one corner.
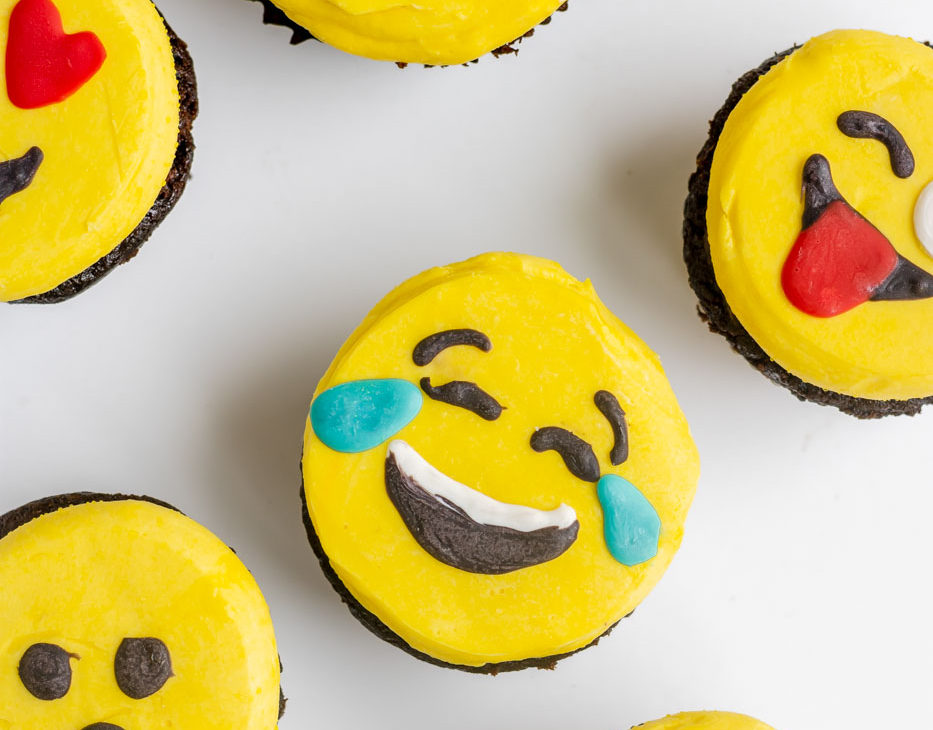
Slowly trace your template on the parchment paper. You can use a toothpick to help guide the chocolate or to clean up any mistakes. I used the white candy wafers for eyes and teeth. After that I moved on to the black wafers. To make the adorable heart emoji cupcakes you will also need some red or pink candy wafers. And to make the tears of joy emoji cupcake you will need some blue.
Let your candy faces dry at least 10 minutes or until firm to the touch. While those are drying you can start frosting the cupcakes.
Fill a piping bag with yellow buttercream. I’m not using a piping tip for these I just cut about 1/2 inch from the bottom. To get flat yellow circles on top of the cupcakes start by piping a small mound of frosting on the top of the cupcakes. Line a baking sheet with parchment paper and flip the cupcakes upside down and slightly press the frosting onto the parchment paper. Place the baking sheet in the freezer for 10 minutes and when you remove the cupcakes they will have a nice flat surface perfect for creating our emoji faces.
Once your cupcakes are out of the freezer and the candy faces have dried its time to decorate! Carefully peel the candy melt faces off the parchment and stick to the buttercream frosted cupcakes. Follow the template or create your own new emojis my mixing and matching different eyes and mouths.
Emoji Cupcakes
Mindy JohnsonIngredients
- 1 cup all purpose flour
- ½ cup cocoa powder
- 1 tsp baking soda
- ½ tsp salt
- ½ cup vegetable oil
- 1 cup light brown sugar
- 1 egg + 1 egg yolk
- 1 tsp vanilla extract
- ½ cup buttermilk
- ½ cup hot coffee (or substitute hot water)
- 1 cup salted butter (2 sticks or ½ pound), softened
- 4 cups powdered sugar (1 pound)
- 2 tsp vanilla extract
- ¼ cup heavy cream or milk
- pinch salt
- 1-2 drops yellow food coloring
- Candy Wafers - White, Black, Red + Blue
Instructions
- Preheat the oven to 350. Line muffin pans with cupcake liners. This recipe makes 16 cupcakes.
- In a medium bowl combine the flour, cocoa, baking soda and salt. Set aside.
- In the bowl of a stand mixer mix together the oil and the sugar.
- Add the egg, egg yolk and vanilla and beat just until combined.
- Add the flour mixture in three parts, alternating with the buttermilk.
- Add the hot coffee and mix on low just until incorporated.
- Using an ice cream scoop or a spoon fill the cupcake liners about ¾ of the way full. One scoop from an ice cream scoop is the perfect amount.
- Bake for 18-20 minutes. Move to a cooling rack to cool completely before frosting.
- In the bowl of a stand mixer beat the butter until light and fluffy, about 3 minutes. Slowly add the powdered sugar one cup and a time. **see notes below
- Add the heavy cream and vanilla and beat until smooth. Add a pinch of salt (to taste) and mix.
- Lastly, mix in the yellow food coloring.
- Place a piece of parchment paper or wax paper over your template and trace any elements you want to be white, like the eyes. You can use a toothpick to help guide the chocolate or to clean up any mistakes.
- After white, repeat with your other colors.
- Let your candy faces dry at least 10 minutes or until firm to the touch. While those are drying you can start frosting the cupcakes.
- Fill a piping bag with yellow buttercream. I'm not using a piping tip for these I just cut about 1/2 inch from the bottom. To get flat yellow circles on top of the cupcakes start by piping a small mound of frosting on the top of the cupcakes. Line a baking sheet with parchment paper and flip the cupcakes upside down and slightly press the frosting onto the parchment paper. Place the baking sheet in the freezer for 10 minutes and when you remove the cupcakes they will have a nice flat surface perfect for creating our emoji faces.
- Once your cupcakes are out of the freezer and the candy faces have dried its time to decorate! Carefully peel the candy melt faces off the parchment and stick to the buttercream frosted cupcakes. Follow the template or create your own new emojis my mixing and matching different eyes and mouths.


Leave a Reply