

Mint Chocolate Chip Melting Ice Cream Cone Cake
Mint Chocolate Chip Melting Ice Cream Cone Cake
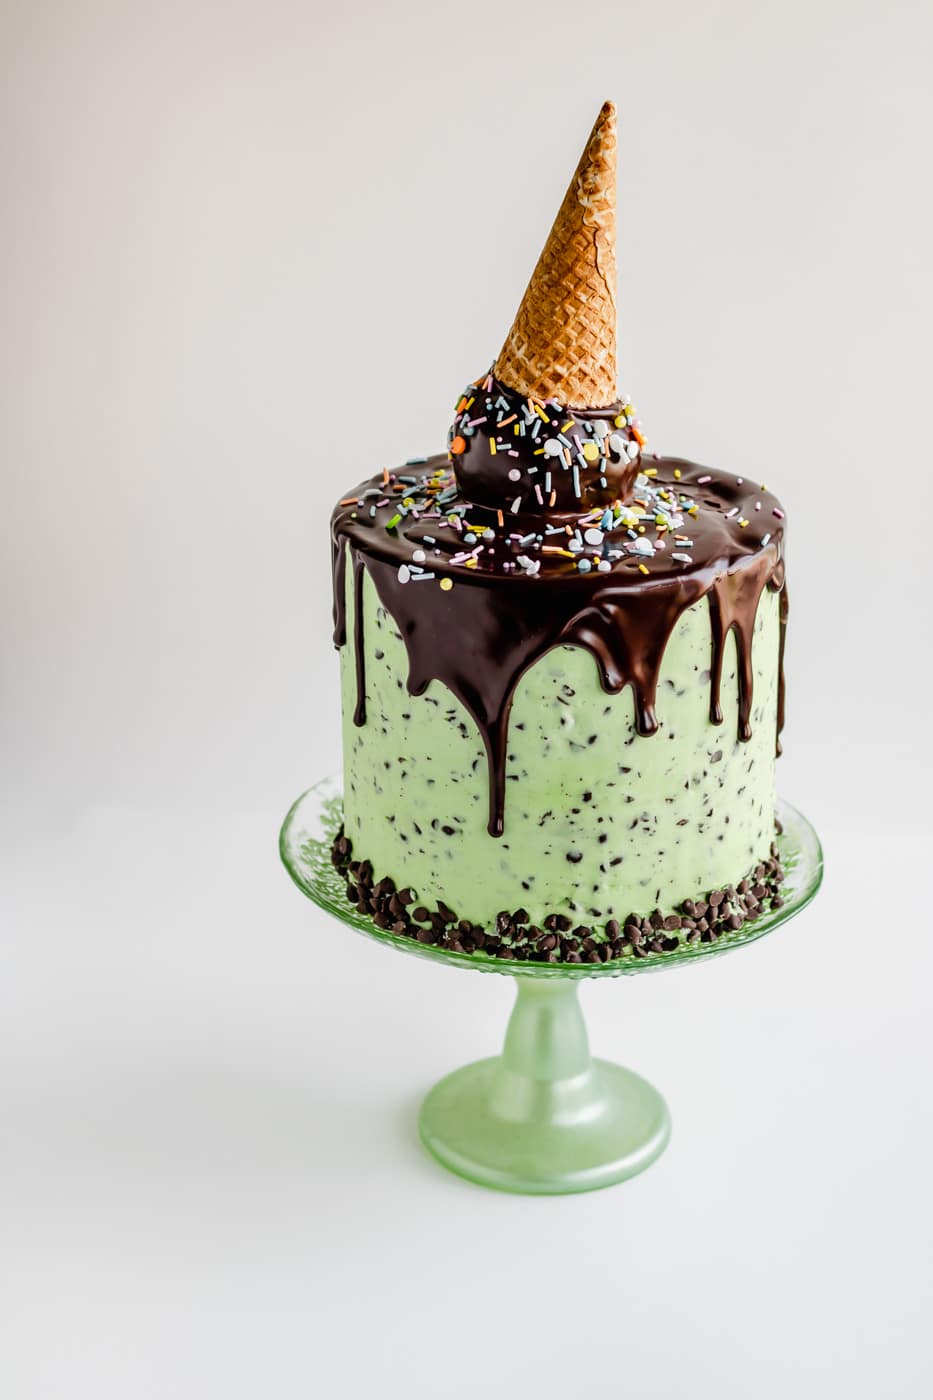
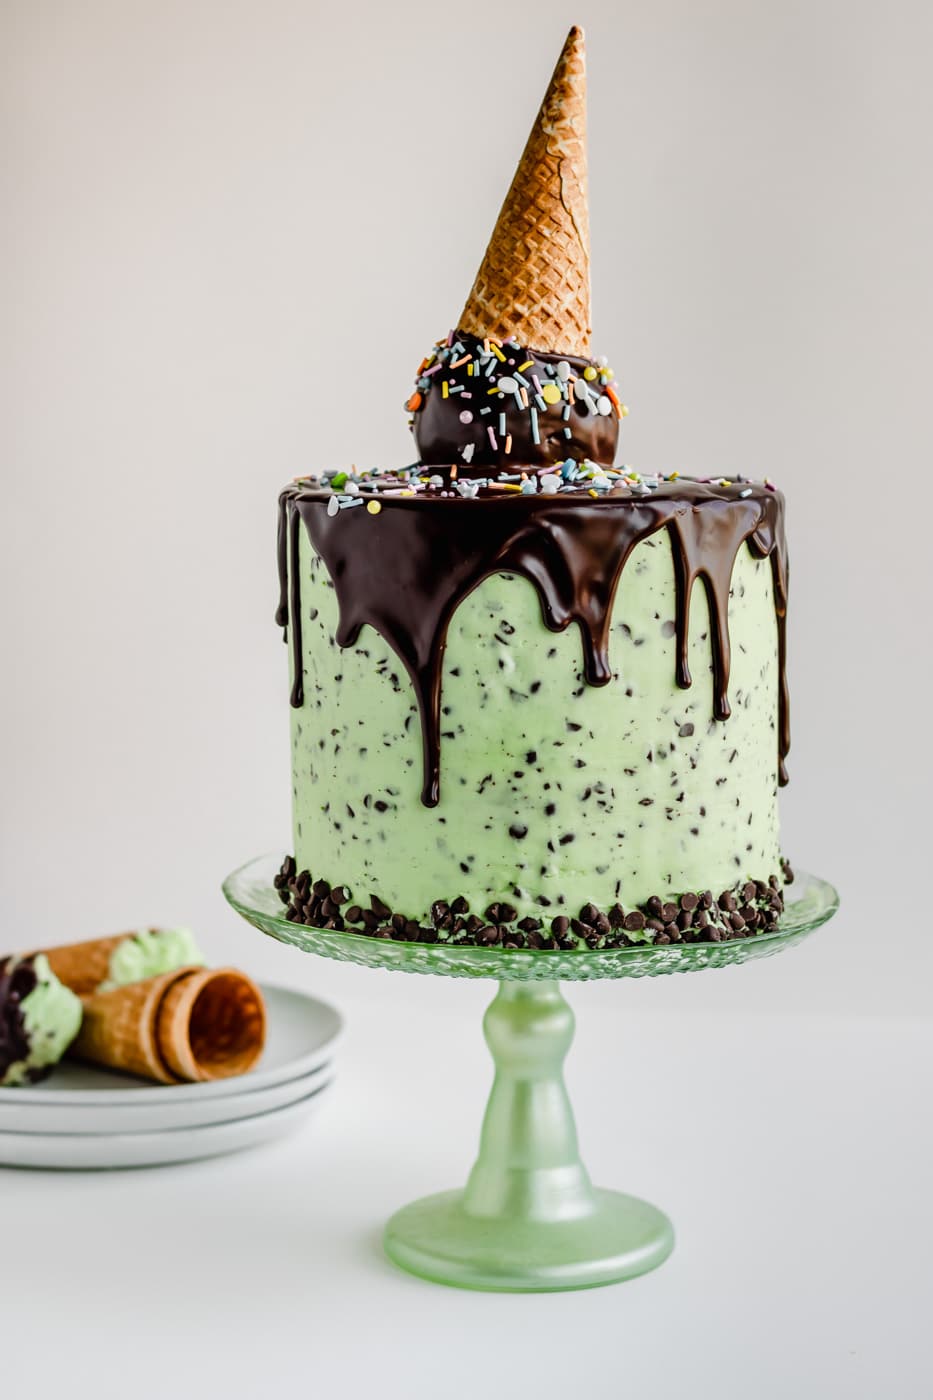
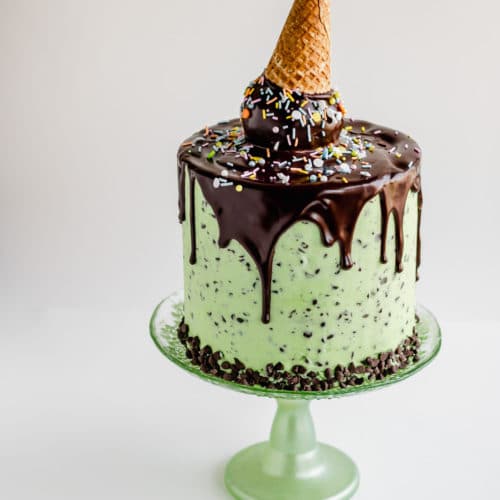
If you love mint chocolate chip ice cream, you will love this cake. Four layers of dark chocolate cake and mint chocolate chip buttercream topped with a cute upside down ice cream cone and chocolate drip. The ‘ice cream’ scoop on top of the cake is a giant cake ball made from the scraps from leveling the cake layers so no cake goes to waste!
Ingredients
Chocolate Cake
- 1 cup dark or semisweet chocolate chips
- 1 cup hot coffee
- 2 cups all purpose flour
- 1 cup granulated sugar
- 1 cup light brown sugar
- ¾ cup cocoa powder
- 1 tsp salt
- 2 tsp baking soda
- 2 large eggs
- 1 tsp vanilla extract
- ¾ cup vegetable oil
- 1 cup buttermilk
Mint Chocolate Chip Buttercream
- 1 lb salted butter, softened
- 7-8 cups powdered sugar
- 3-4 tbsp heavy cream
- ½ tsp peppermint extract
- pinch of salt
- 1-2 drops green food coloring, optional
- ½ cup mini chocolate chips, chopped
Chocolate Ganache
- 1 cup dark or semisweet chocolate (chopped baking chocolate, chocolate wafers or chocolate chips)
- ¾ cup heavy cream
Decoration
- 1 ice cream cone
- 1 wooden skewer
- mini chocolate chips
- sprinkles
Instructions
Chocolate Cake
- Preheat the oven to 350 and grease (or line with parchment rounds) four 6” cake pans or three 8” pans.
- Place the chocolate chips in a medium bowl. Pour the hot coffee over the chocolate and allow to sit while you prepare the rest of the batter.
- In a large mixing bowl, whisk together the flour, sugars, cocoa, salt and baking soda. Whisk in the eggs, vanilla, oil and buttermilk. The batter will be thick. You can switch to a rubber spatula or mixing spoon at this point if it’s too thick to whisk.
- Return to your bowl of chocolate and coffee and stir until smooth. Gradually pour the coffee mixture into the batter and mix until fully incorporated. Divide batter evenly between the cake pans. Bake for 33-35 minutes for 6" pans or 25-30 minutes for 8" pans.
- Allow to cool a few minutes in the pan and then carefully, using oven mitts if the pans are still warm, invert each layer onto a sheet of plastic wrap. Wrap tightly and place in the freezer until you’re ready to assemble your cake. I store layers in the freezer for up to a week.
Buttercream
- In the bowl of a stand mixer beat the butter until light and fluffy, about 3 minutes. Slowly add the powdered sugar a cup at a time. *See Notes Below*
- Add the heavy cream a tablespoon at a time until you reach a spreadable consistency. Add the peppermint extract, green coloring if using and a pinch of salt, to taste. Scrape down the sides of the bowl as needed.
- Add the chopped chocolate chips and mix on low just until combined.
Chocolate Ganache
- In a small saucepan, heat the heavy cream over medium-low heat until it starts simmering. You can also heat in the microwave for 45-60 seconds.
- Put the chocolate chips in a bowl and pour the cream over top. Allow to sit for a minute or two to melt and then whisk until smooth.
Assembly
- Remove the cake layers from the freezer about 30 minutes before you want to assemble the cake. I take them out to thaw while I am preparing my buttercream and ganache. You want the layers to be cold, but not completely frozen to decorate.
- Once your cake has thawed enough to safely handle, level the layers by slicing a thin layer of cake from the top with a serrated knife. These cakes bake pretty flat, but you still want to take a little off the top to use for the 'ice cream' cake ball. Mix your cake scraps with a spoonful of buttercream to form a dough-like mixture. Shape into a ball and place in the freezer while you prepare the rest of the cake.
- To assemble the cake, place a dab of buttercream on your cake board or plate and then place the first layer of cake on top. Spread a layer of buttercream on top. Stack the next cake layer on top and repeat, ending with the final layer of cake, top side down.
- Using an offset spatula add a thin layer of buttercream on the sides and top of the cake, scraping off any extra with a bench scraper or icing scraper. This is your crumb coat. It’s ok if it looks messy, the goal is to trap the crumbs in this layer so that the final layer of buttercream is crumb-free and smooth. Refrigerate the crumb-coated cake about 15 minutes or until firm to the touch.
- Now frost the cake with a thicker layer of buttercream. Smooth with a bench scraper or offset spatula. Chill the cake for 15 minutes to set the buttercream before adding your ganache drip. *See Notes below about using an acrylic disk or cake board to frost your outer layer*
- I like to do a test drip, either on the back of the cake or the side of my cake scraper or even just a plate held vertically. You can add more cream if you want thinner drips or allow the ganache to rest a bit to thicken up if you want thicker drips.
- Using a spoon, guide your drips around the sides of the cake and then pour some additional ganache on top of the cake and smooth out with an angled spatula or the backside of a spoon.
- Take your cake ball out of the freezer and drop it into your bowl of ganache, and rotate to completely cover. Using two forks place your ganache-covered cake ball on the center of your cake.
- Place your wooden skewer down through the center of your cake ball and into the cake. You want about 2 inches to be showing, if the skewer is too long you can trim it.
- Dip the top of your ice cream cone in ganache and then place overtop the skewer to stick to the cake ball.
- Decorate with sprinkles and additional mini chocolate chips.
Video
Notes
Buttercream Tips:
To make the buttercream you will need your butter to be soft. You can leave it out at room temperature about an hour before you need to use it, or microwave it for about 15 seconds to soften.
If you are using organic powdered sugar, you will want to sift it first to get out any large lumps. This will help when smoothing your cake.
I use between 7-8 cups (usually about 2lbs of powdered sugar). Start with 7 and add more until you get the consistency you like.
I started with mini chocolate chips and then chopped them up a bit smaller so it would be easier to smooth my buttercream as I frosted the cake.
Using an acrylic disk or cake board:
I like to use an acrylic disk or another cake board on top of the cake to ensure that I am getting even coverage. I am using an 8” cake board for this cake on both the top and bottom of the cake and using a cake scraper to gently smooth the sides. Since the buttercream has chocolate chips in it you will want to smooth very slowly with the scraper very close to the cake. If you go too fast the larger pieces of chips will drag across the surface leaving lines in the buttercream. Check out my Geode cake highlight and my Ruffle cake highlight to see me use this technique.
Nutrition
Calories: 648kcal | Carbohydrates: 82g | Protein: 4g | Fat: 34g | Saturated Fat: 17g | Polyunsaturated Fat: 6g | Monounsaturated Fat: 7g | Cholesterol: 87mg | Sodium: 412mg | Potassium: 21mg | Fiber: 2g | Sugar: 68g
This information comes from online calculators and these figures are only estimates.
Tried this recipe?Let us know how it was!
2 Comments
-
-

so glad you enjoyed it!! thanks for the review!
-
Camelia
Made this cake for my brothers birthday and it was AMAZING! Big hit with everyone!