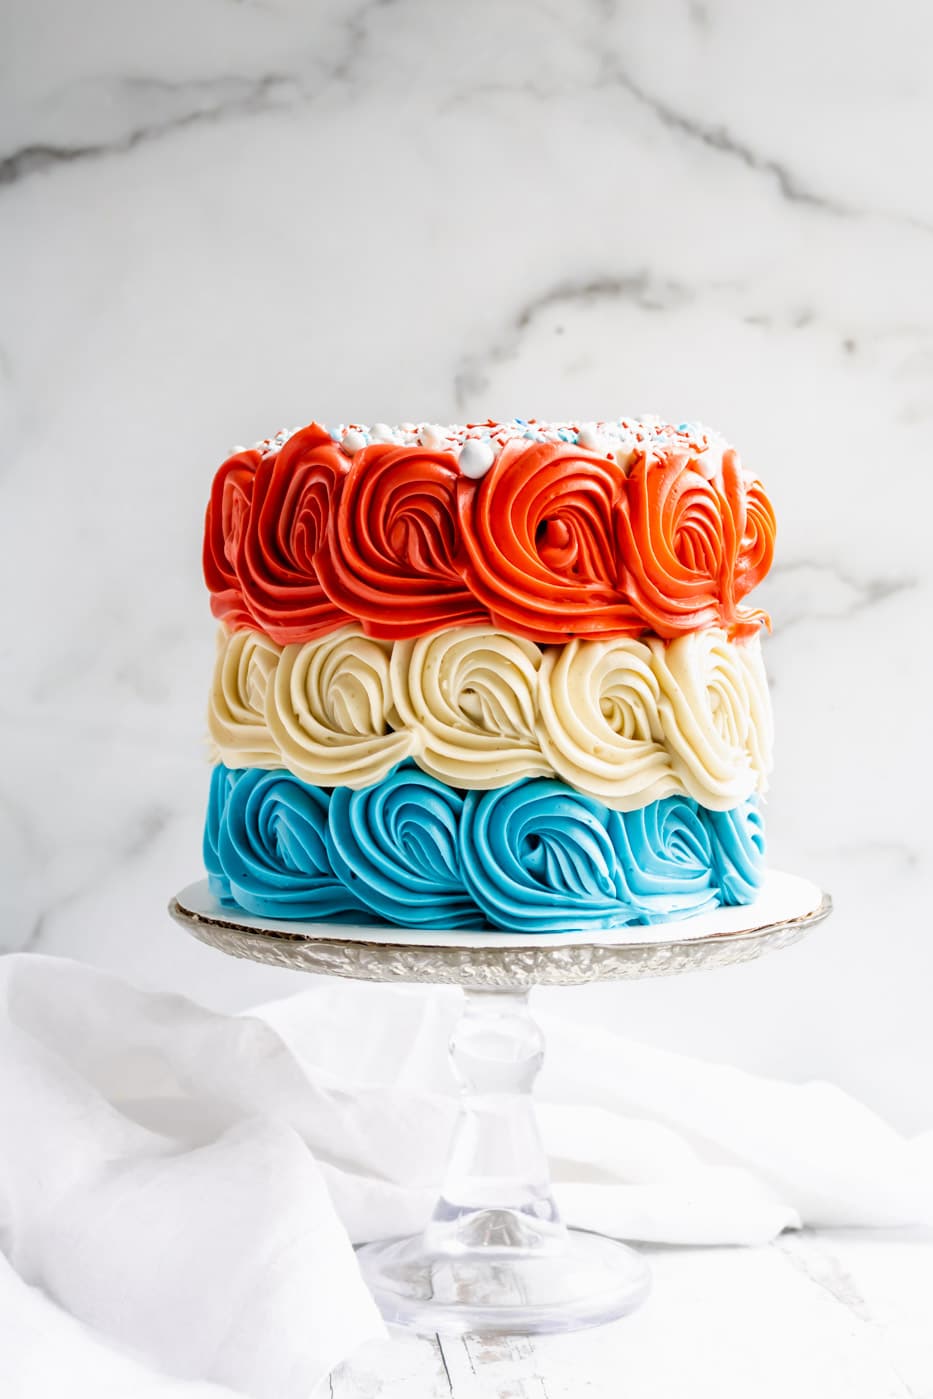
Red Velvet Cake
Red velvet cake and cream cheese frosting is a classic combination. Decorating a red velvet cake with rosettes is beautiful technique that’s very easy to learn. Red velvet cake gets its slightly tangy flavor from buttermilk and vinegar and that’s balanced out by just a slight amount of cocoa. The recipe I am sharing is a slightly modified version of my grandmother’s Red Velvet layer cake.

Buttermilk is key to red velvet cake. You can buy it at the store or you can make your own by adding 1 tbsp lemon juice to a measuring cup and adding enough milk to get to 1c total. Let sit for 5 minutes before using.
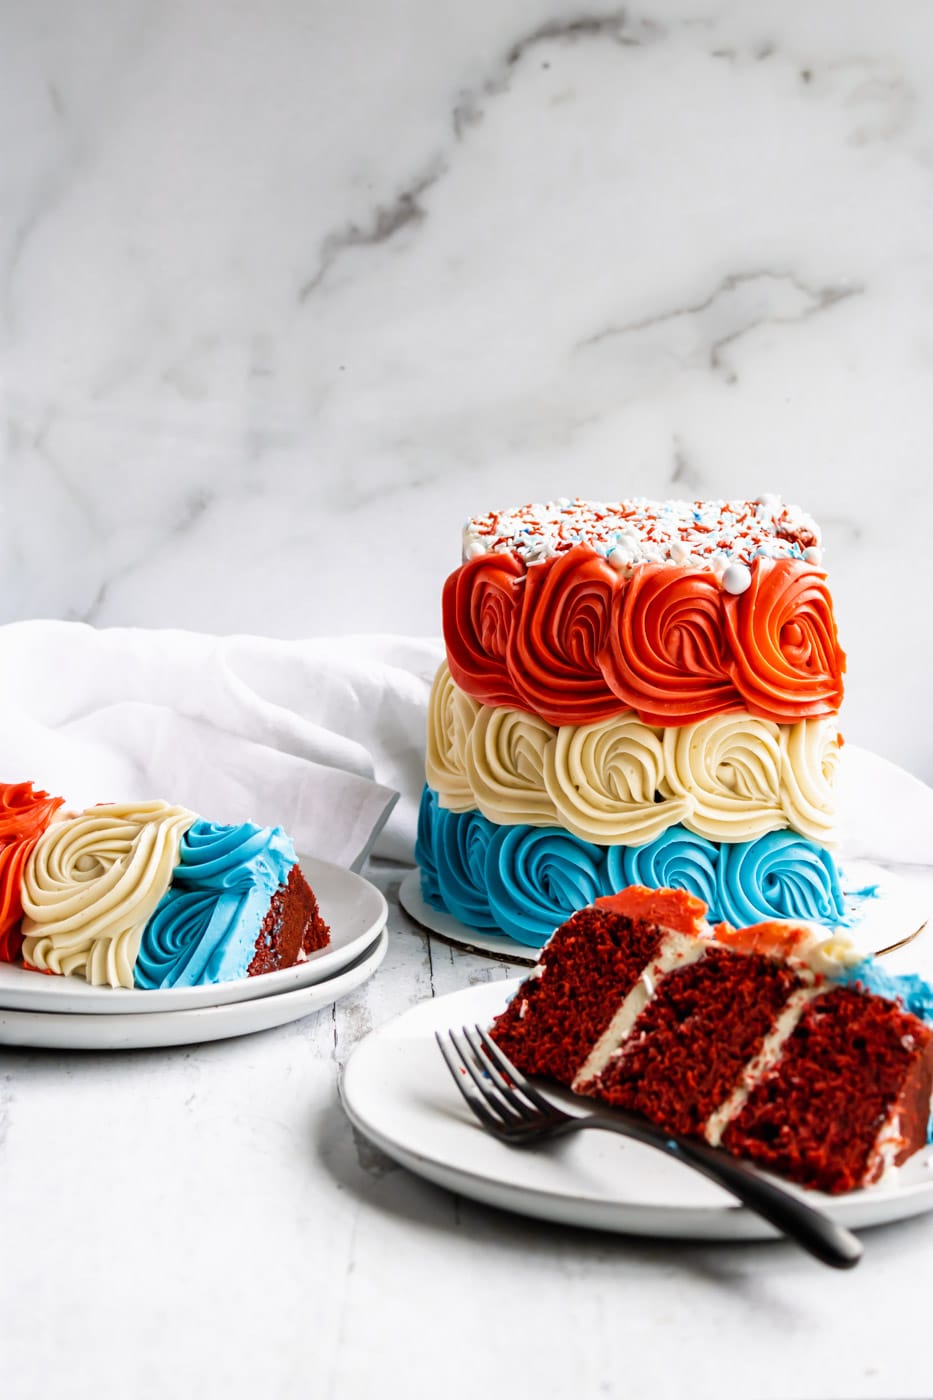
In the photos with this recipe I divided the batter into three 6 inch pans, however in the recipe I am recommending using four 6 inch pans for a better cake to frosting ratio. The layers in the photos were a bit too thick for me. Alternatively you can use two 8 or 9 inch pans or cupcakes!
One day I’ll put together some more comprehensive cake decorating basics but for now here’s a few tips:
- I always bake my cake layers at least a day before decorating and I wrap and freeze them overnight.
- Take the layers out of the freezer before starting on the frostings to allow them to start to thaw
- When your layers are still very cold they are easier to level and easier to frost because they are less crumbly.
crumb coat
- If you want a clean finish to your cake you will want to crumb coat. Crumb coating is applying a thin layer of frosting to the outside of the cake and chilling it for 15-20mintes (or until firm to the touch) before adding the final layer of frosting. The crumb coat holds all the crumbs in place so they can’t get mixed into the outer layer.
- Check out my instagram highlight to see me level, fill and crumb coat a cake.
- Store the cake in the refrigerator but serve at room temperature. You can take the entire cake out a couple hours before serving or you can slice while cold and let the slices sit for 15 minutes or so to warm up.
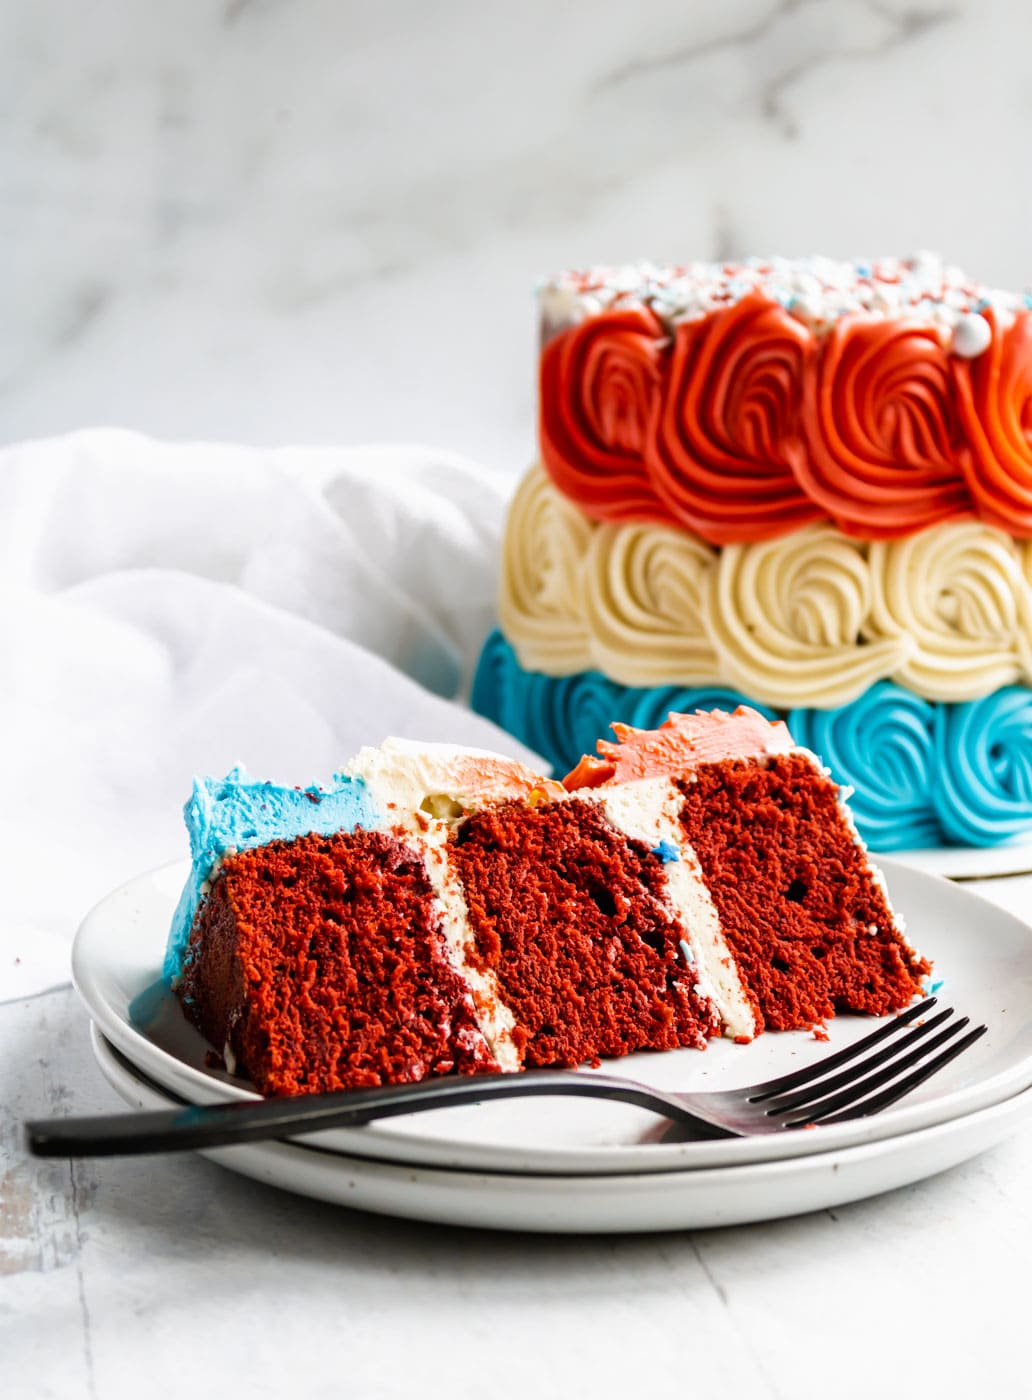
decorating a red velvet cake
To achieve the rosette July 4th technique as shown in the photos you will need a few more tools:
-
- Piping bags and piping tip. I am using the Ateco 845 but you can also use Wilton 2D
- Food coloring. I am using sky blue and super red gel colors.
- You will need to double the cream cheese frosting recipe below.
- Cream cheese frosting is a lot less stable than buttercream. I recommend practicing the rosettes on a flat surface before moving to the cake. You can lay a sheet of wax paper down to practice. Check out the instagram highlight to see this technique.
- You can also chill the frosting a bit before piping to make it hold up a little better.
- You will want to start with the bottom row and work your way up the cake. Each rosette should slightly cover the tail of the previous one and when you move on to a new row start between two rosettes as opposed to directly above one.
- Instead of adding more rosettes to the top of the cake I decorated with sprinkles from Fancy Sprinkles.
Decorating a red velvet cake – Check out my instagram highlight to see the process.
my go-to cake tools
Looking for more red velvet recipes? Check out my Red Velvet Oreo Cupcakes.
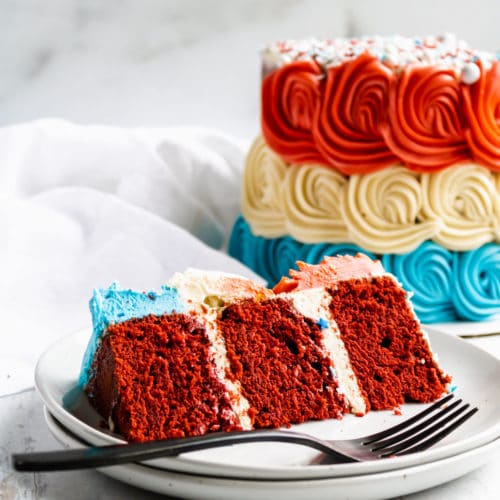
Red Velvet Cake
Mindy JohnsonIngredients
- 1/2 c salted butter, softened (1 stick)
- 1 ½ c sugar
- 2 eggs
- 1 oz red food coloring
- 2 tbsp water
- 2 tbsp cocoa powder
- 1 tbsp vanilla extract
- 2 ½ c flour
- ½ tsp salt
- 1 c buttermilk
- 1 tsp baking soda
- 1 tbsp vinegar
- 8 oz block of cream cheese
- 1/2 c salted butter, softened (1 stick)
- 1 lb powdered sugar
- 1 tbsp vanilla bean paste (or vanilla extract)
- pinch salt, to taste
Instructions
- Preheat the oven to 350°. Grease 2 - 8" pans or 4 - 6" pans.
- Cream together butter and sugar. Add eggs and continue to beat until incorporated.
- In a small bowl mix cocoa, food coloring and water to make a paste. Add to the butter mixture along with the vanilla extract and mix to combine.
- Add the buttermilk to the same bowl that you used to mix the cocoa and food coloring. Add the baking soda and stir to get all the color that was left behind.
- In another bowl combine the flour and salt. Add to the butter mixture in three parts alternating with the buttermilk. Beat well.
- Fold in vinegar.
- Divide into greased pans and bake 25-35 minutes depending on the pan size. For cupcakes bake 16-18 minutes.
- Invert the warm layers onto plastic wrap and wrap tightly. Freeze overnight or until ready to frost.
- Remove the cakes from the freezer before starting the frosting to allow them to start thawing.
- In the bowl of a stand mixer beat together the cream cheese and butter until smooth.
- Slowly mix in the powdered sugar, vanilla bean paste and salt.
- Level the cakes, if desired, and then fill and frost.
- Cake should be served at room temperature. Store leftovers in the refrigerator.


Leave a Reply